How to Create a Functional Kitchen Lighting Plan: Layers, Placement, and Dimmers
A kitchen can look flawless at noon and feel like a cave at seven in the evening. The difference is rarely the fixtures themselves. It is whether light lands where you actually work, eat, and move. A good lighting plan is really a map of your habits: chopping at the counter, reading a recipe at the island, rinsing at the sink, sitting down with a plate of pasta. Get those moments lit properly and the room feels finished, even if the cabinets are still the old ones.
Here is how to build that plan in layers, place each fixture with intent, and control it all so one switch does not have to do everything.
Start With the Three Layers
Every functional kitchen uses the same three jobs of light. Treat them separately while you plan, then combine them when you live in the room.
- Ambient light fills the room so you can see and move safely. Ceiling fixtures and recessed cans handle this.
- Task light puts brightness exactly where your hands are: countertops, the sink, the range, the island.
- Accent light adds depth and warmth — inside glass cabinets, along a toe kick, over a banquette, or in a dining pendant.
Each layer should live on its own switch or dimmer. If all three come on together at full brightness, you have a kitchen that works for exactly one mood, and it is not the one you want at dinner.
Ambient Lighting: Lay the Base Without Washing Out the Room
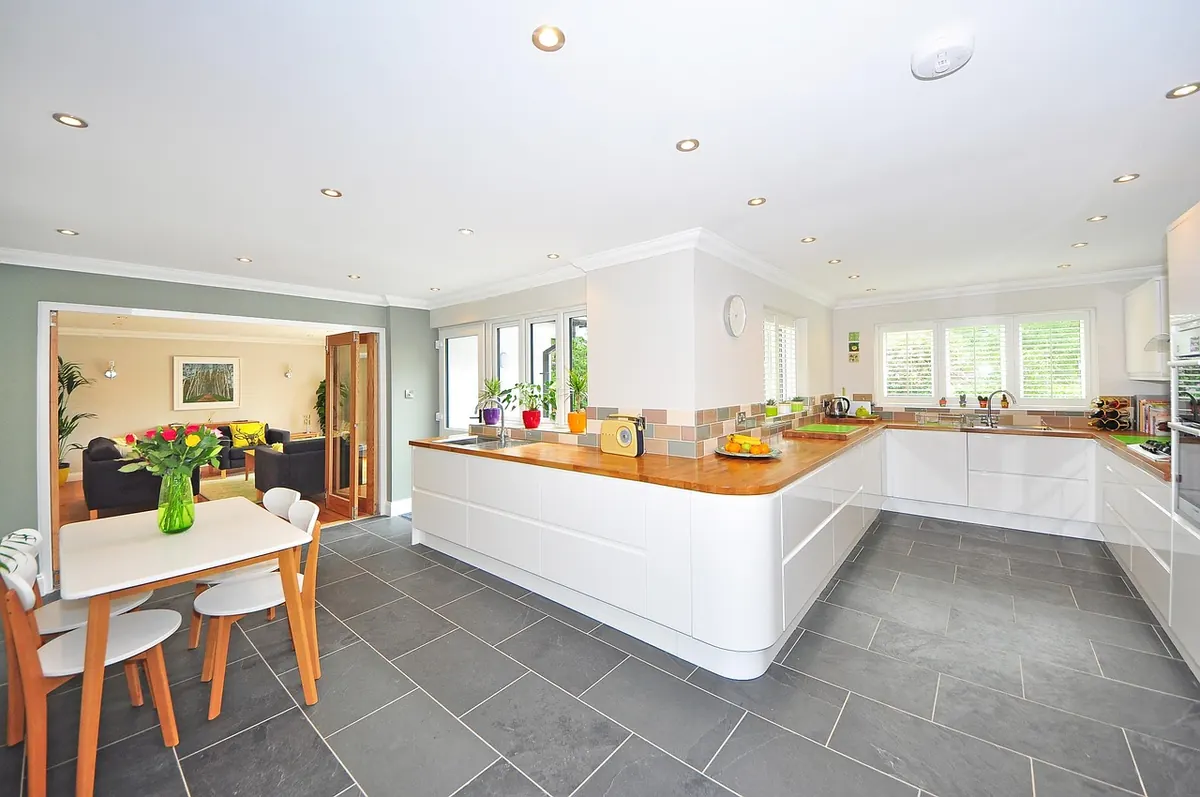
Recessed cans are still the workhorse, but a grid of them centered in the room is the most common mistake. Overhead light lands behind you while you stand at the counter, so the surface in front of you stays dim and your own shadow does the chopping. Push the cans toward the edges of the room so their beams angle onto counters and walkways rather than the middle of the floor.
In a large kitchen, that usually means two parallel rows instead of a square. In a galley, a centered row down the aisle is often enough. Ceiling height changes the plan too: a narrower beam spread reaches the counter better than a wide flood, which matters more in a tall room. In a small kitchen with a low ceiling, a flush-mount or semi-flush fixture over the center can be a calmer choice than a dozen small cans, as long as you pair it with real task lighting underneath the cabinets.
Task Lighting: Where the Knife Meets the Board
Task lighting is where most kitchens fail, and it is also the cheapest layer to fix.
Under-cabinet lighting
Run an LED strip or slim linear fixture along the underside of every upper cabinet that has counter below it. Position it toward the front third of the cabinet depth. Mounted too far back, the light grazes the backsplash and leaves the working edge of the counter in shadow; mounted at the very front edge, it becomes visible and glares into your eyes when you sit down. Look for a diffused lens, since bare diodes create dotted reflections on polished stone.
Keep runs continuous or overlapping so there are no dark gaps between sections. This is the single upgrade that makes a counter feel twice as usable, and it costs a fraction of what new cabinets do.
The sink
You lean forward at the sink, so one fixture directly behind your head throws your shadow straight into the basin. Put light slightly in front of the sink, or use two smaller fixtures flanking it. If the sink sits under a window, supplement from the front, because light coming from behind you will never reach the drain.
Island and prep zone
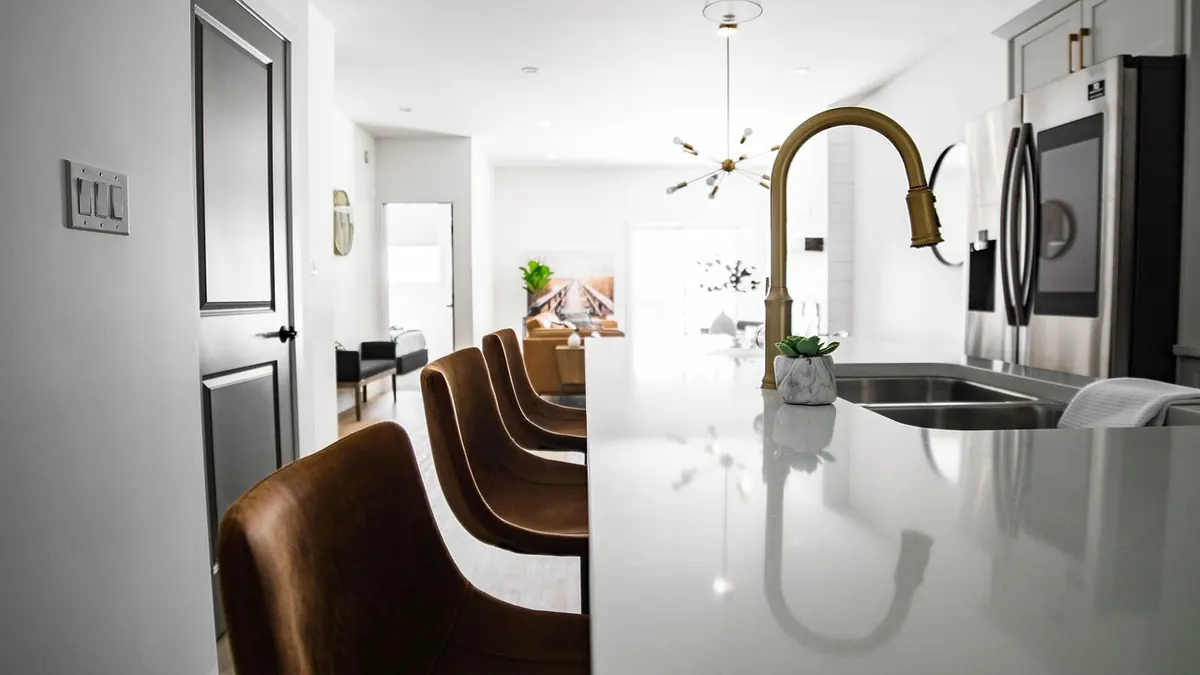
Pendants over an island do double duty as task and accent, and their height decides which one they are. Set the bottom of the fixture roughly 30 to 36 inches above the countertop: high enough to keep sightlines open across the room, low enough to actually light a cutting board. If the island is your main prep surface, plan on additional ceiling light above it, or accept that low pendants will be more atmosphere than illumination.
Range and hood
Most range hoods include a light, and on plenty of models it is weak. If you cook often, choose a hood with bright, warm illumination or add a dedicated fixture. Also light the counter space on either side of the range, since that is where hot pans and serving plates land.
Accent Lighting for Depth
Accent light does not need to be bright. It needs to be separate: dimmable, on its own switch, and quiet enough that it never competes with the task layer. Puck or strip lights inside glass-front cabinets, placed at the top and aimed down, make glassware glow and keep shelves from looking flat. A soft line of toe-kick light at the floor gives you a safe path to the fridge at midnight. And a dedicated fixture over art, a coffee station, or a banquette gives the eye somewhere to rest. In the dining zone, center a pendant or chandelier over the table with the bottom about 30 to 34 inches above the tabletop, and dim it low for meals.
Placement Numbers Worth Writing Down
- Under-cabinet strip: front third of the cabinet underside, diffused, runs continuous or overlapping.
- Island pendant: bottom of the fixture 30 to 36 inches above the countertop.
- Dining pendant: bottom 30 to 34 inches above the tabletop.
- Counter runs: overlap the beams so no dark pool appears between fixtures at night.
Color Temperature: Keep It Consistent
Warm white, roughly 2700K to 3000K, flatters wood, stone, and skin, and it dims gracefully in the evening. Task areas can run slightly cooler, around 3000K to 3500K, if you like a crisper look while prepping, but mixing wildly different temperatures in one open kitchen reads as accidental rather than designed. Pick one family and stay in it. Aim for a color rendering index of 90 or higher so food looks like food and not like a laboratory sample.
Dimmers and Controls: The Part People Skip
Dimming is what turns a functional plan into a flexible one. A few rules keep it working:
- Put ambient, task, and accent on separate circuits so you can run them independently.
- Use LED-rated dimmers and check the fixture's dimming specification before you buy. Mismatched dimmers cause flicker, buzz, and a minimum brightness that never gets low enough.
- Presets earn their keep: one scene for cooking at full task light, one for homework at the island, one for dinner with pendants near 20 percent and accent light on.
- Place switches where you cross the room: one at each entry, a three-way on the main walkway, and the under-cabinet switch within arm's reach of the counter where you use it. A motion sensor inside a pantry is a small, sensible addition.
If you are adding circuits or running new cable inside walls, bring in a licensed electrician. Codes and requirements vary by area, and this is not the place to guess.
Plan It on Paper, Then Test It at Night
Before anything gets cut into drywall, sketch a simple floor plan and mark the countertop edges, island, sink, range, and table. Label each fixture with its layer and a measurement. Then test it for free: set temporary work lights or lamps where the fixtures will go, wait until dark, and turn off everything else.
- Stand at the sink and chop an imaginary onion. Is your shadow on the board?
- Sit at the table and look across the room. Can you see a bare bulb or a bright reflection in the countertop?
- Walk the kitchen with only accent light on. Is the path to the fridge safe?
- Buy one fixture and one dimmer first, wire them together, and live with them for a week before ordering the rest.
Do that, and the finished kitchen will feel intentional at every hour, not just the ones when the sun is doing the work.
Photo: justinedgecreative / Pixabay